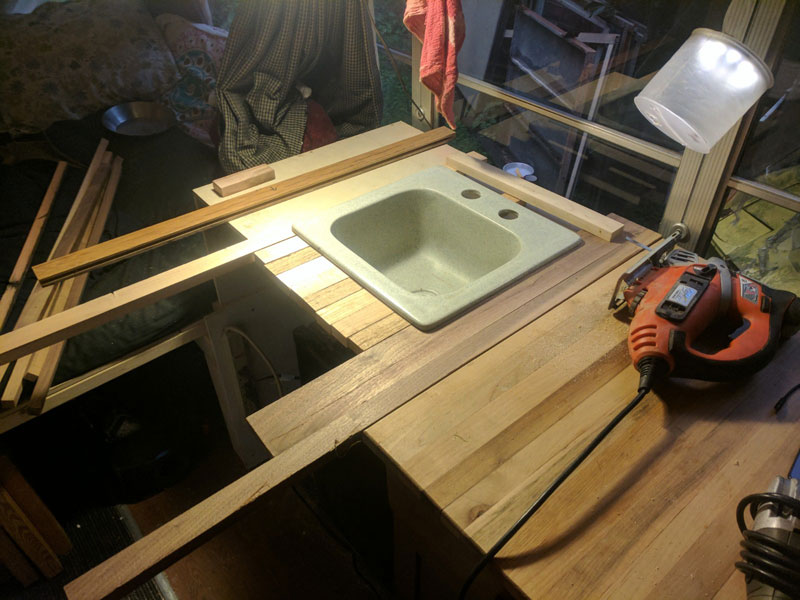
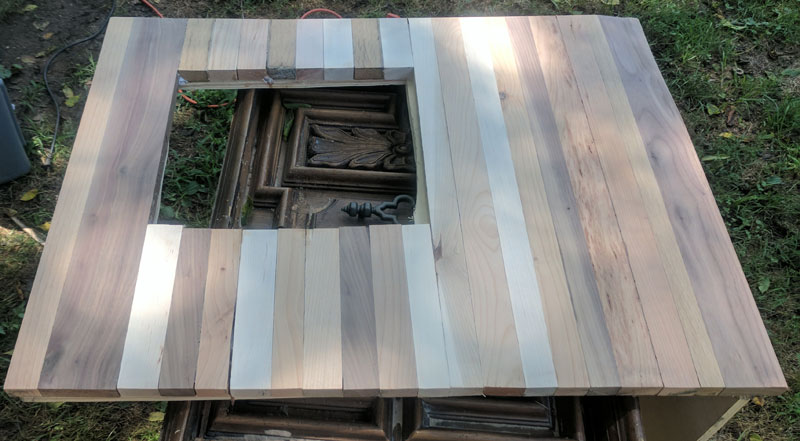
Converting this 89 Chevy short bus into an RV has been an awesome project. One of the pieces of the project is to make some counter tops. I decided to duplicate the counter tops that I built for my kitchen. I’ve got an abundance of cabinet plywood end-cuts from my buddy Keith. These 3/4 inch strips make a perfect butcher block when placed side by side.
Selecting the Boards
The goal is to pick boards that are all similar in thickness (to cut down on plaining and sanding) but different in species.

Screwing From Below
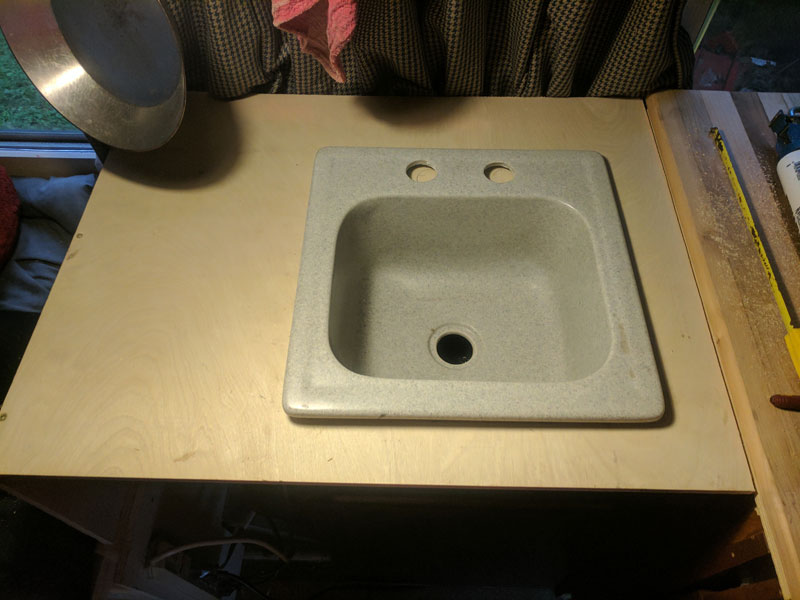
I started with a piece of 3/4 inch plywood. This serves as a base plate for me to attach the boards. My assumption is that with the constant vibration of the bus, the glue won’t be enough to hold everything together. I used small drywall screws to hold all the boards in place.
Gluing
Once the boards are attached with screws I went back over everything with Type 3 wood glue. This makes sure the glue is food safe. This also helps fill in all the gaps between the boards and cut down on grime that might fall between the cracks.
Power Planing
Once everything is screwed and glued I used a power planer to remove the excess glue and get everything level. If you’ve never used one of these you definitely need to add it to your tool box. I’ve gone through a few of them on various projects but now have a Dewalt. You can see this in action on another blog post that I did about my kitchen remodel: https://www.bigboomblog.com/featured/beam-me-up-timber-frame-kitchen-renovation.html

Sanding
Once the planing was complete I ran through a bunch of sanding belts until I got everything smoothed down to about 220 grit.
Routing The Edges
Once the sanding and planing was complete I used my router to run the front and side edges of the counter tops. I’m using a Bosch Router that I’ve had for about 10 years and it still runs great.
Coating with Oil
I used some Howards Cutting Board Oil to get a nice finish over everything. I typically do 3-4 coats over everything with a clean rag. Wait about 10-15 minutes between each coat so that it has time to sink into the wood.

Sink Cut Out
Once the counter top has been installed into the bus I started on the sink cut out. I found a cheap bar sink from a local building surplus store. I’m working with a small amount of space so I had to get creative with the plumbing to/from the sink since the refrigerator is directly below the sink.


