1976 R75/6 BMW

A little history on the bike: I bought it from Carolina BMW in 2004 for $2,000. The bike was owned by a BMW mechanic for about 20 years. Check out a few of the parkway shots below to see the bike when I first brought it up to the mountains. Other than a fist size dent in the top of the tank, it was in immaculate shape when I first got the bike.
(Descriptions are below the images)
Before the work began
The oil leaks that drove me to tear into the bike
The side handle and the battery top plate removed. Maybe someone knows a trick that I don’t but I wasn’t able to remove the battery without taking the handle off as well as removing the two nuts that keep the battery tray from rocking back.
Remove the two plastic spinner nuts at the back of the gas tank
Tank removed
Remove the three oil filter bolts that hold on the cover
Make sure you check the gasket placement when the cover goes back on
Remove the oil filter inner cap
Oil filter removed with a bent piece of wire
When I pulled the oil filter out it left behind the inner o-ring. The top cork screw tool is the one that finally did the trick.
Left carb moved to the side
Three allen bolts for the front cover
Front cover removed
Carbs out of the way
I pulled the air box cover and found that a squirrel had been using my bike for a winter food storage spot.
Amazing that my carbs aren’t clogged with all these acorns in the intake.
Starter cover removed to clean out the acorns

Don’t forget the two 10mm nuts between the fins on either side of the head.
August 5th
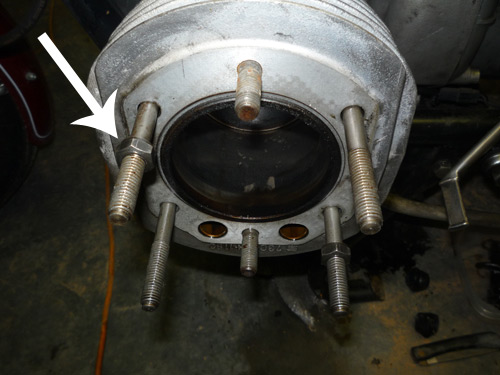
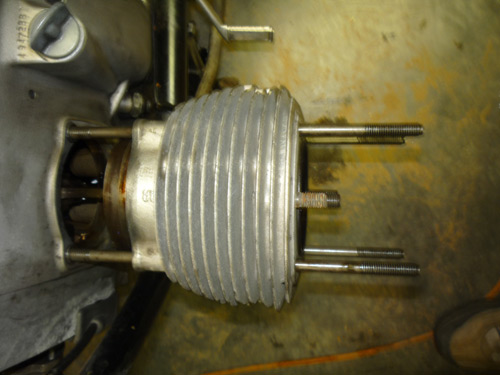
Removing the Rocker Arm Shafts. Don’t just take them off one by one, work your way around in a zig zag pattern.I found out after removing all six bolts that in order to get to the Push Rod Tube Seals you don’t need to split the cylinder head from the barrels. As you can see in the next picture the two middle bolts can remain on so that you won’t need to swap the head gasket. If you’ve got leaks at this seam you might want to replace the gaskets anyway.
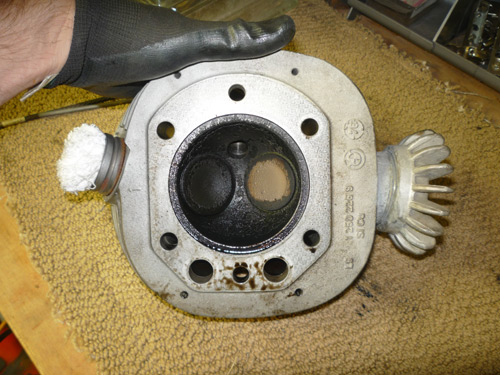
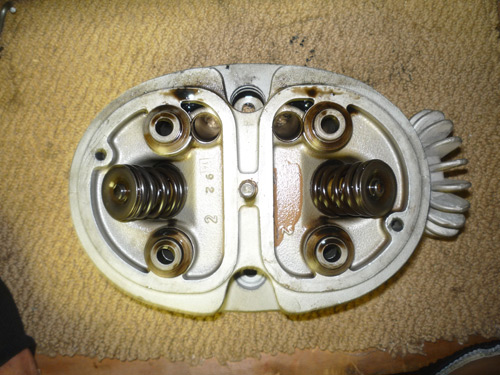
With the cylinder head removed you should lay it flat on a workbench and fill the dirty side full of tranny fluid or motor oil to watch for leaks around the valve seat.
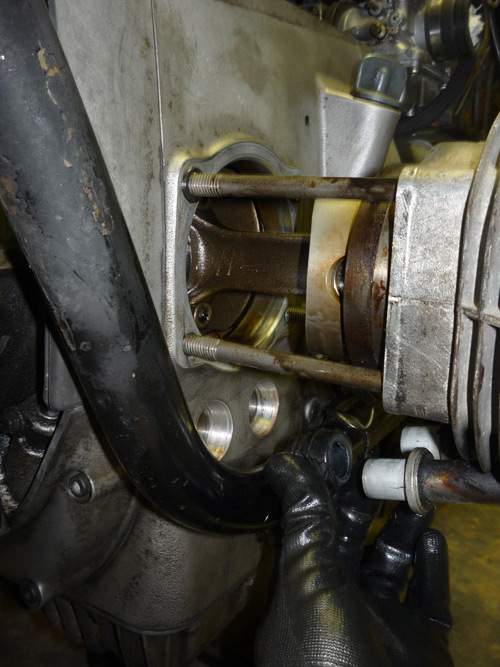
If you remove the cylinder head from the barrels you can re-thread a bolt back on as a stop. This is so you don’t have to deal with the piston rings jumping out.
Here you can see the new seals going on the push rod tubes. They should have a line or arrow that needs to be oriented down.


