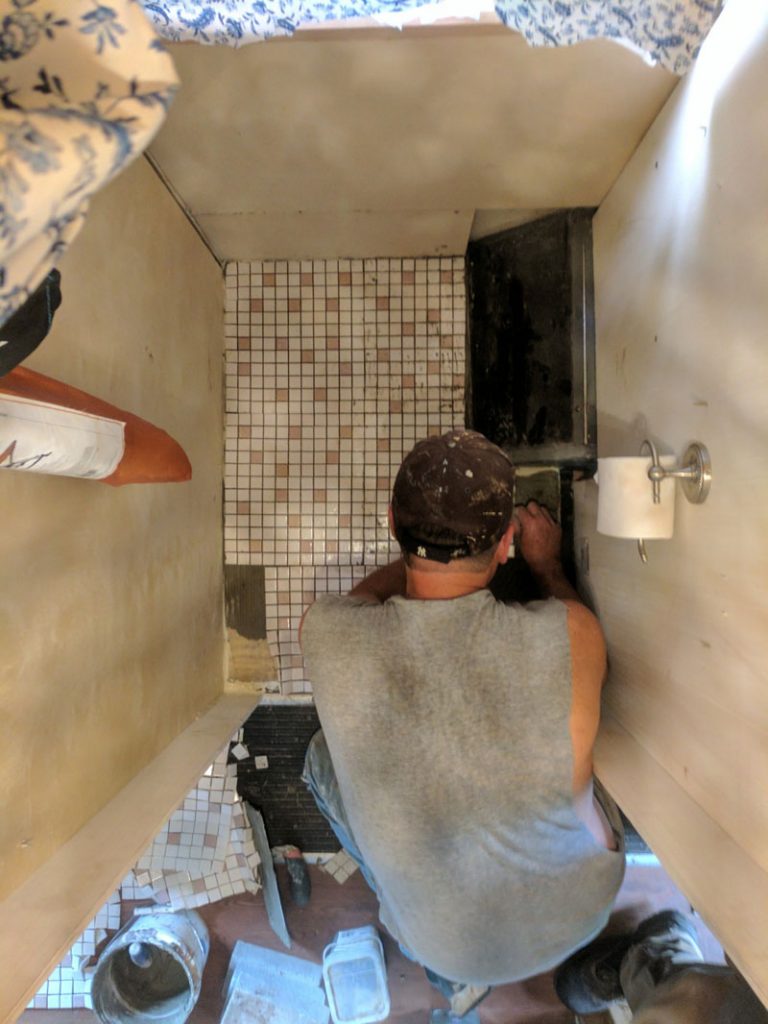
I’ve taken on hundreds of projects over the years but up until recently I’ve never done any tile work. I called my buddy Dave to give me a hand with this one. Dave is an all around great handyman and was more than willing to help me on this first tile job. The tile itself (along with most of the materials used on this project) was in the house the I purchased years ago. I’ve been saving the tile for some reason and now I know why.
Durock Base
For the bottom layer I used a piece of Durock that I got from Lowes. I originally purchased the Durock to surround the wood stove but now that I’ve changed over to a propane heat setup I won’t need the wood stove. The Durock base serves as a great bottom layer to spread the tile adhesive on.

Laying The Tile
The tile is connected by a white mesh that holds 1 foot by 1 foot of tile squares together. This makes it easy to cut the mesh and get specific sizes of tile squares.
Grout and Caulk
Once all the tile sheets were laid down and in place it’s time for the grout to be added. Once the grout dried I went over all the seams with some clear bathroom caulk.
Front Brick Lip
The front edge of the shower has 4 landscaping bricks to keep the water in the bathroom. These landscaping bricks are covered with the same tile that covers the floor.
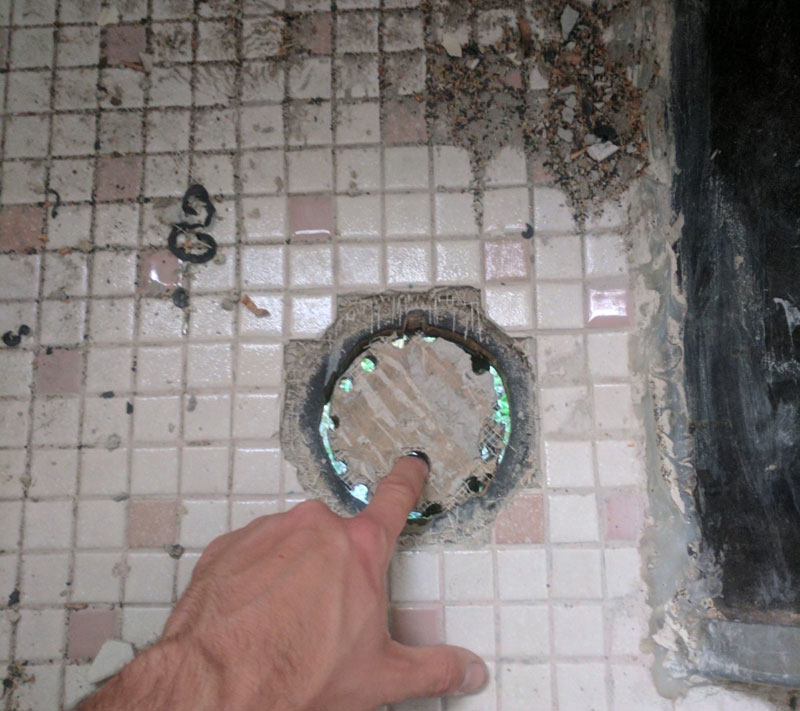
Cutting the Drain
I realized (too late) that I should have cut the drain hole and tiled around it rather than tiling the floor and cutting the drain afterwards. It wasn’t too big of an issue but I realized how tough tile is to cut with an orbital. I decided to drill a series of holes through the floor/tile and use a jigsaw to connect all the holes. Once this was done I dropped in the drain and caulked the area around it.
This photo shows the various layers of the flooring that I had to cut through to get the drain in place.